Water heaters are essential in every home, providing hot water for daily activities such as bathing, cooking, and cleaning. Proper installation and regular maintenance are crucial to ensure your water heater’s efficiency, longevity, and safety. In this comprehensive guide, we will cover everything you need to know about water heater installation and maintenance.

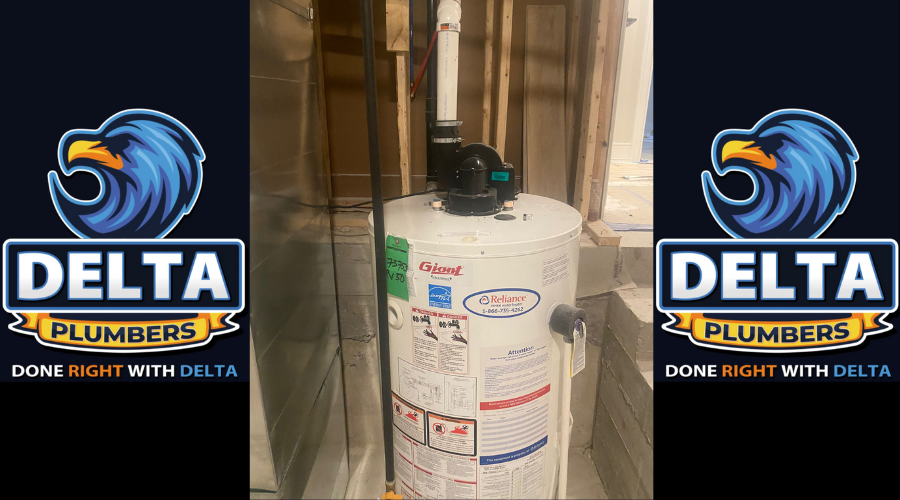
Picture Source – Delta Plumbers
What is Proper Maintenance for a Water Heater?
Proper maintenance of a water heater involves several key steps to ensure it operates efficiently and lasts as long as possible. Here are some essential maintenance tips:
Regular Inspection:
Check your water heater regularly for signs of leaks, rust, or corrosion. Inspect the anode rod, which helps prevent tank corrosion, and replace it if it’s heavily corroded.
Flushing the Tank:
Sediment buildup can reduce the efficiency of your water heater. Flushing the tank at least once a year removes this buildup and improves performance.
Temperature Setting:
Keep the thermostat set to 120 degrees Fahrenheit to prevent overheating and reduce the risk of scalding.
Insulation:
Insulating your water heater and the first few feet of the hot water pipes can help retain heat and improve efficiency.
Pressure Relief Valve Check:
Test the pressure relief valve annually to ensure it’s functioning correctly. This valve prevents excessive pressure buildup, which can be dangerous.
Professional Maintenance:
Schedule regular maintenance with a professional plumber to check for any issues you might have missed and to perform more complex maintenance tasks.
Also Read: Leaky Faucet: How to Prevent and Fix

Picture Source – Delta Plumbers
What to Do When You Install a New Water Heater?
Installing a new water heater involves several critical steps to ensure it operates safely and efficiently. Here’s what you need to do:
Choose the Right Type and Size:
Select a water heater that meets your household’s hot water needs. Consider factors such as fuel type, capacity, and energy efficiency.
Turn Off Utilities:
Before installation, turn off the power supply (electricity or gas) and the water supply to the old water heater.
Drain the Old Water Heater:
Drain the old unit by attaching a hose to the drain valve and directing the water to a suitable drainage location.
Disconnect and Remove:
Disconnect the old water heater from the plumbing and power or gas lines, then remove it from its location.
Position the New Heater:
Place the new water heater in the desired location, ensuring it’s level and has proper clearance for ventilation and access.
Connect the Plumbing:
Attach the water lines to the new heater, using Teflon tape on the connections to prevent leaks.
Connect the Power or Gas:
Reconnect the power supply or gas line to the new water heater. For gas heaters, ensure the gas line is properly sealed to prevent leaks.
Fill the Tank:
Open the cold-water supply and fill the tank. Open a hot water faucet to allow air to escape and ensure the tank is filled completely.
Power On:
Once the tank is full, turn on the power supply or gas to the water heater. For electric heaters, you may need to wait a few hours for the water to reach the desired temperature.
Check for Leaks:
Inspect all connections for leaks and tighten them if necessary.
Also Read: Regular Plumbing Maintenance: Why It Is Important

Picture Source – Delta Plumbers
How Often Do You Have to Flush a New Water Heater?
Flushing a new water heater is an essential maintenance task that should be performed regularly to prevent sediment buildup and ensure efficient operation. Here’s how often you should flush your water heater:
Initial Flush:
After installing a new water heater, perform an initial flush within the first six months to remove any debris or sediment that may have accumulated during installation.
Regular Maintenance:
For most water heaters, flushing the tank once a year is sufficient. However, if you have hard water or notice sediment buildup more frequently, consider flushing the tank every six months.
Signs You Need to Flush:
If you hear popping or rumbling noises from the tank, or if the hot water output seems reduced, it’s a sign that sediment has built up, and you should flush the tank immediately.
Also Read: Common Plumbing Problems and How to Fix Them

Picture Source – Delta Plumbers
How Long Does It Take a Professional to Install a Hot Water Heater?
The time it takes a professional to install a hot water heater can vary based on several factors, including the type of water heater, the complexity of the installation, and any additional work required. Here’s a general timeline:
Preparation:
The professional will begin by turning off utilities, draining the old water heater, and removing it from its location. This process typically takes about 30 to 60 minutes.
Installation:
Installing the new water heater, including positioning, connecting plumbing and power or gas lines, and ensuring proper ventilation, usually takes about 2 to 3 hours.
Testing and Cleanup:
Once the new water heater is installed, the professional will test the system for leaks and proper operation. They will also clean up the work area, which can take an additional 30 to 60 minutes.
In total, you can expect a professional installation to take approximately 3 to 5 hours. However, this timeframe can vary depending on the specific circumstances of your installation.
Also Read: Faucet Installation: A Comprehensive Guide by Delta Plumbers

Picture Source – Delta Plumbers
What Happens If You Don’t Flush Your Water Heater?
Failing to flush your water heater can lead to several issues that affect its performance, efficiency, and lifespan. Here’s what can happen if you neglect this essential maintenance task:
Sediment Buildup:
Over time, minerals and sediment from the water settle at the bottom of the tank. This buildup can create a barrier between the heating element and the water, reducing efficiency and causing the heater to work harder.
Reduced Efficiency:
Sediment buildup can insulate the water from the heating element, causing the heater to use more energy to maintain the desired temperature. This increased energy consumption can lead to higher utility bills.
Overheating and Damage:
Sediment can cause the heating element to overheat, potentially leading to damage or failure. In gas water heaters, sediment can clog the burner, affecting its ability to heat the water.
Shortened Lifespan:
The added strain on the heating element and other components can reduce the overall lifespan of your water heater, leading to premature replacement.
Noisy Operation:
Sediment buildup can cause popping or rumbling noises as the heating element heats the water and the sediment moves around the tank.
Poor Water Quality:
Sediment can mix with the water, leading to discolored or foul-smelling hot water.
Also Read: Boiler Installation Services by Delta Plumbers

Picture Source – Delta Plumbers
What is the Average Life Expectancy of a Water Heater?
The average life expectancy of a water heater depends on several factors, including the type of heater, usage, maintenance, and water quality. Here are some general guidelines:
Tank Water Heaters:
Traditional tank water heaters typically last between 8 to 12 years. With proper maintenance, some models can last up to 15 years.
Tankless Water Heaters:
Tankless water heaters generally have a longer lifespan, ranging from 20 to 25 years. Their longevity is partly due to their design, which eliminates the risk of sediment buildup in a storage tank.
Factors Affecting Lifespan:
- Maintenance: Regular maintenance, such as flushing the tank and inspecting components, can significantly extend the lifespan of your water heater.
- Water Quality: Hard water with high mineral content can lead to faster sediment buildup and corrosion, reducing the heater’s lifespan.
- Usage: The more frequently you use your water heater, the more wear and tear it will experience, potentially shortening its lifespan.
Signs of Aging:
As your water heater ages, you may notice signs such as reduced hot water output, noisy operation, or frequent repairs. These are indicators that it may be time to consider replacing the unit.
Also Read: Sewer Repair and Replacement: Delta Plumbers Explains

Picture Source – Delta Plumbers
Should I Flush My 10-Year-Old Water Heater?
Whether you should flush a 10-year-old water heater depends on its condition and maintenance history. Here are some considerations:
Maintenance History:
If you have regularly flushed your water heater and performed other maintenance tasks, it’s likely in better condition and may benefit from continued flushing.
Sediment Buildup:
If your water heater has significant sediment buildup, flushing can help improve its efficiency and extend its lifespan. However, if the buildup is severe, it may be more cost-effective to replace the unit.
Signs of Wear:
If your water heater is showing signs of wear, such as leaks, rust, or frequent repairs, flushing may provide only a temporary improvement. In this case, replacing the unit may be a better long-term solution.
Professional Assessment:
Consider having a professional plumber inspect your water heater to assess its condition and recommend whether flushing or replacement is the best option.
Conclusion
Proper installation and maintenance of your water heater are crucial for ensuring reliable hot water supply and maximizing the unit’s lifespan. By following the tips outlined in this guide, you can keep your water heater running efficiently and avoid common issues that can lead to costly repairs or replacements. Regular maintenance, including annual flushing, inspecting components, and setting the thermostat to a safe temperature, will help you get the most out of your water heater and ensure it provides years of dependable service. If you need professional assistance with installation or maintenance, Delta Plumbers is here to help with expert services and advice.